Make Use of Toolbars in Windows
The Windows taskbar is a strip at the bottom of the screen that holds the Windows Start button to the left and the time and date to the right. It allows you to locate and launch programs through Start and the Start menu, or display any programs that are currently open. You already know how to launch programs from the start menu and pin apps to the taskbar. But, this bar holds a secret that can help you be productive and save some time and aggravation. This article will explore what that secret is and show you how it can help you with your daily tasks and workflow.
So, what is the secret the taskbar hold? The secret that the Windows taskbar holds is the ability to let you make custom toolbars. In order to see how to unlock this secret and use it to your advantage to be more productive, let’s see what toolbars are, and what they do.
What is a toolbar?
A toolbar contains shortcuts to folders and applications on your system that are accessible right from your taskbar. This is really great if you are working on that one document that is buried deep in your computer, and you need 2 or 3 minutes off digging through you computer to find this file every time you need to open it. The toolbar can hold whatever files and folders you use most often and put them right at your fingertips, just two clicks away, right from your desktop. How cool is that?!
There are a few pre-built toolbars that come with Windows, such as the Address and Links toolbars. However, the two toolbars that can really help get access to those files and folders blazing fast are the Quick Launch toolbar and a custom toolbar. I will show you how to maximize and use these two toolbars to gain the most out of you computer and save time.
Quick Launch Toolbar
The Quick Launch is a convenient and easy way to open programs and have access to folders. In your computer, there is a folder called Quick Launch. You can add items you frequently use into this folder and, once you enable the Quick Launch toolbar on you taskbar, you gain access to those links right from you desktop.
How to Find the Quick Launch Toolbar
The Quick Launch folder is located at the hidden path below.
%UserProfile%\AppData\Roaming\Microsoft\Internet Explorer\Quick Launch
How to Add Shortcuts to Quick Launch Toolbar
You can add shortcuts of items to Quick Launch by using either making shortcuts of your programs and folders, and then cut and pasting those shortcuts in to the Quick Launch folder. Or, making those shortcuts and then dragging them on to the Quick Launch folder.
The video below will show you how to find the Quick Launch folder, and how to make and add shortcuts to this folder.
How to Add the Quick Launch Toolbar to the Taskbar
The Quick Launch folder is located at the hidden path below. Follow the steps below, or view the video at the bottom to add the Quick Launch Toolbar to the Taskbar.
1. Right click on the taskbar.
2. Click Toolbars tab at the top of the taskbar.
3. In the Toolbars side menu click New Toolbar… tab.

4. The Quick Launch folder will open. Click Select Folder.

Quick Launch toobar will be installed to the right side of the taskbar. I recommend that the Quick Launch to0lbar is better and more efficient to the left side of the taskbar. The next toolbar we install, called the Custom toolbar, will be useful to the right. To relocate the Quick Launch toolbar to the left, do the following.
1. Right click on the taskbar and click on the Lock all taskbars tab to un-check the tab.

2. Click and hold on the double vertical lines and drag the toolbar to left as far as it can go.

3. Go back to the right. There will be two more vertical lines, which is the end of the stretched out toolbar. Click and hold on the two vertical lines and drag it all the way to the left as far as it can go.

The Quick Launch toolbar is now to left of the task bar.
Custom Toolbar
In the same way you added shortcuts to folders and programs in Quick Launch, you will create your own toolbar that will hold shortcuts to files, such as Excel workbooks, Word documents, the video file you are working on, or whatever file you need access to on a regular basis. To make a custom toolbar that will hold your shortcuts to your often used files, we will first make a folder on you desktop called CustomLinks, and then set to folder to be your Custom Links tooldbar.
How to Create a Custom Toolbar
Follow the steps below to make a custom tooldbar and place it on you taskbar.
1. Right click on you desktop and click the New tab.
2. From the side menu click Folder.

3. Name the folder CustomLinks.
4. Right click on you taskbar and click Tooldbars tab.
5. In the side menu click New toolbar... tab.
6. Navigate to your desktop and select the CusotmLinks folder.
7. Click Select Folder to set the Custom Links folder as you new toolbar on your taskbar.
Refer to the video below to see this process in action.
Get Productive
Now that you have unlocked and learned about how to use this secret of the taskbar…what are you waiting for?!! Go and make your toolbars and start optimizing your productivity! But remember, you must use this secret wisely. Don’t add all the links that you can get your hands on. Only the ones you need to use often. Keep folder links and program links in the Quick Launch toolbar and links to files in the CustomLinks toolbar. Being organized is also part of optimizing productivity!


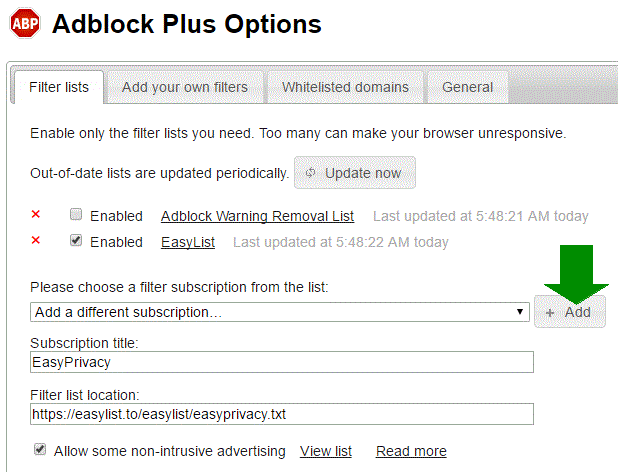
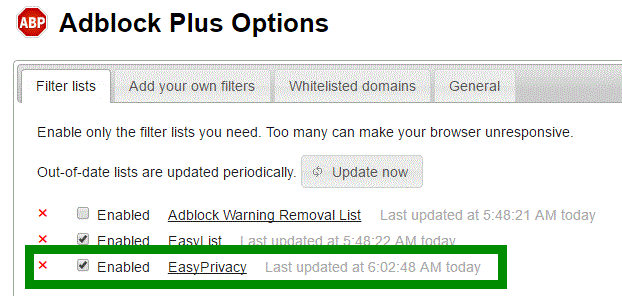
 A tab will open with the Adblocker settings and will give you the option to add the new filter subscription. Click the Add button as shown below.


